Setting up a wireless printer might seem technical, but with the right guidance it’s a straightforward process that takes less than 15 minutes. Once connected, your printer becomes accessible to every device on your home or office network — computers, laptops, tablets, and smartphones — without a single cable.
This guide covers the complete setup process from unboxing to your first wireless print, including three different connection methods and a full troubleshooting section. Urban Edge Developers provides this guidance as an independent thirdparty consultancy service — if you need live support at any stage, our team is available via online chat or callback.
Unbox & Prepare Your Printer
Before connecting to Wi-Fi, get the hardware ready
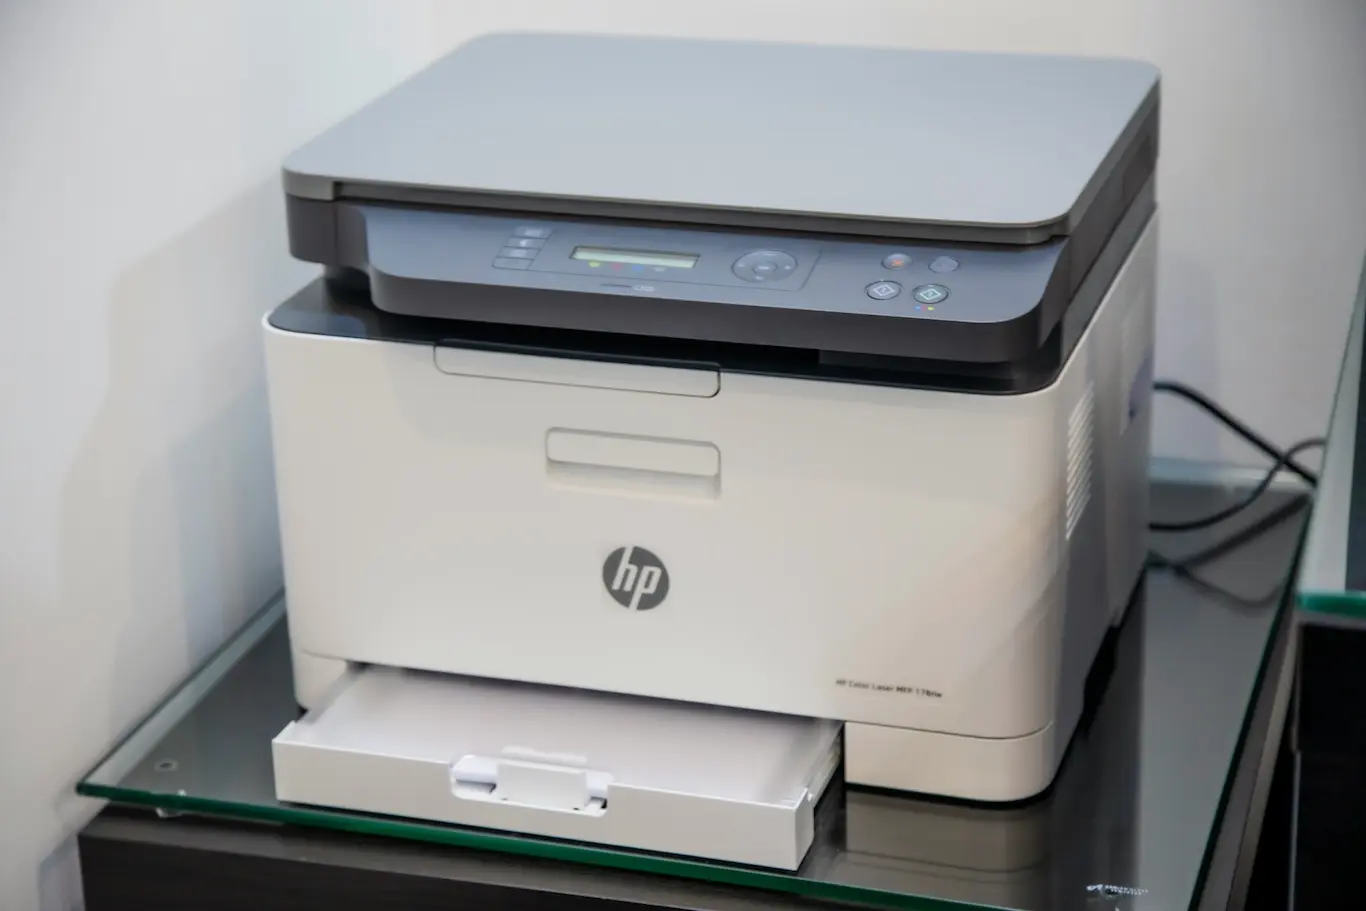
Before attempting any wireless connection, it’s essential to properly prepare your printer. Remove all packaging materials — manufacturers often place protective tape, foam inserts, and plastic strips inside the printer body, paper tray, and ink compartment. Leaving any of these in place can cause hardware errors or paper jams on first use.
- Remove all packaging & tape
Open every door and tray and check thoroughly for hidden protective strips — especially around the ink carriage and paper feed rollers. - Install ink cartridges or toner
Insert the supplied starter cartridges into the correct colourcoded slots. Push firmly until you hear a click. For laser printers, slide the toner cartridge along the rail until it locks. - Load paper into the tray
Fan the paper stack before loading to prevent multi-feeds. Adjust the paper guides so they sit snugly against the edges of the paper without squeezing. - Position near your router
Place the printer within a reasonable distance of your Wi-Fi router for a strong signal — ideally within 10 metres without thick walls in between. - Power on the printer
Connect the power cable and press the power button. Allow the printer to complete its initialisation cycle — this typically takes 1–2 minutes on first startup.
Tip: Keep the original packaging until you’ve confirmed the printer is working correctly. You may need it if the unit needs to be returned or transported.
Connect to Wi-Fi via the Control Panel
The standard wireless setup method — works on all printers
Most modern printers have a built-in wireless setup wizard accessible directly from the printer’s control panel. This is the most reliable method and works on virtually every Wi-Fi enabled printer regardless of brand. The exact menu names vary slightly by model, but the process is consistent.
- Open Wireless or Network Settings
On the printer’s control panel, tap the wireless icon ( ) or navigate to Settings → Network → Wireless Setup Wizard. On older models, use the arrow buttons to scroll through menus - Select “Wireless Setup Wizard”
The printer will scan for available Wi-Fi networks in range. This scan takes around 30–60 seconds. Wait for the list to fully populate before proceeding. - Choose your Wi-Fi network (SSID)
Select your home or office network name from the list. If your network name doesn’t appear, scroll down — it may not be at the top of the list. Ensure you’re connecting to the correct 2.4GHz or 5GHz band (most printers use 2.4GHz). - Enter your Wi-Fi password
Using the on-screen keyboard, type your Wi-Fi password carefully. Passwords are case-sensitive — double-check capitals and special characters. This is the most common point of failure in wireless setup. - Confirm connection
The printer will attempt to connect. A successful connection is confirmed by a solid wireless indicator light on the printer panel or a “Connected Successfully” message on the screen. The printer may print a confirmation sheet automatically
Important: Most home printers only support 2.4GHz Wi-Fi, not 5GHz. If your router broadcasts both bands with the same name, your printer may struggle to connect. Check your router settings and ensure 2.4GHz is enabled.
Connect via WPS Button (Quick Method)
One-button connection — no password required

If your router supports WPS (Wi-Fi Protected Setup), this is by far the quickest connection method. WPS automatically exchanges security
credentials between devices — no password typing required. Look for a button labelled “WPS” on your router (usually on the back or side).
- On the Printer
Navigate to Settings → Network → Wi-Fi → WPS Push Button, or press the dedicated WPS button if your printer has one. The printer’s wireless light will start blinking to indicate it’s in WPS discovery mode. - On the Router
Within 2 minutes of activating WPS on the printer, press and hold the WPS button on your router for 3–5 seconds until the WPS indicator light blinks. The two devices will automatically negotiate a secure connection.
Once the connection is established, both the router’s WPS light and the printer’s wireless light will stop blinking and remain solid. The
entire process typically takes less than 60 seconds. If the connection fails, wait 5 minutes and try again — routers have a cooldown period
between WPS attempts.
Best for: Users who want the fastest possible setup without typing passwords. Note that some newer routers have WPS disabled by default for security reasons — check your router’s admin panel if the button doesn’t respond.
Install Printer Drivers on Your Computer
Required for Windows and Mac to communicate with the printer

Even though your printer is now connected to Wi-Fi, your computer needs the correct software driver to communicate with it. Drivers act
as translators between your operating system and the printer hardware. Without them, the printer won’t appear as an available device on your computer
-
- Windows
Visit the manufacturer’s official support website, search for your exact printer model, and download the full driver package for your Windows version. Run the installer as administrator and follow the on-screen wizard. - Mac
macOS often downloads drivers automatically via Apple’s built-in software updates. Alternatively, download directly from the manufacturer’s website. After installation, restart your Mac to ensure the driver loads correctly.
- Windows
-
-
- Use the installation wizard
Most driver packages include a setup wizard that automatically detects your printer on the network. Select “Wireless / Network Installation” when prompted about the connection type. - Select your printer from the list
The installer will scan your network and display discovered printers. Select your model and confirm. If multiple printers
appear, check the IP address displayed on the printer’s status screen to confirm which is yours. - Complete installation & restart
Allow the installation to finish completely. When prompted, restart your computer. This ensures the driver is fully integrated
into your operating system.
- Use the installation wizard
-
Avoid third-party driver download sites. Always download drivers directly from the printer manufacturer’s official website. Third-party sites often bundle unwanted software or out-of-date drivers.
Add the Printer on Windows & Mac
Make the printer visible to your operating system

Once drivers are installed, you need to formally add the printer to your operating system so it appears in print dialogues across all your apps and programs.
-
- Windows 10 / 11
Go to Start → Settings → Bluetooth & Devices → Printers & Scanners → Add Device. Windows will scan the network and display available printers. Click your printer’s name and select “Add Device.” Set it as the default printer if desired. - macOS
Go to Apple Menu → System Settings → Printers & Scanners → Add Printer, Scanner or Fax. Select your printer from the list under the Default tab. macOS will automatically configure the driver. Click Add to finalise.
- Windows 10 / 11
Tip: If your printer doesn’t appear in the list, ensure it’s powered on, connected to the same Wi-Fi network as your computer, and that your computer’s firewall isn’t blocking printer discovery. Temporarily disabling the firewall during setup can help diagnose connection issues.
Print from Your Smartphone or Tablet
iOS, Android, and app-based mobile printing

Once your printer is on the network, smartphones and tablets can print to it without any additional hardware. The method depends on your device’s operating system and the printer’s supported protocols.
- iOS Apple AirPrint (iPhone & iPad)
Most modern printers support AirPrint natively. Open any document, photo, or webpage, tap the Share icon, select Print, and choose your printer from the list. Your iPhone and printer must be on the same Wi-Fi network. No app installation required. - AND Android — Mopria Print Service
Android supports printing via Mopria Print Service, which comes pre-installed on most devices. Open your document, tap the three-dot menu, select Print, and choose your printer. If not pre-installed, download Mopria Print Service from the Google Play Store. - APP Manufacturer App (All Devices)
Most printer brands offer their own mobile app — HP Smart, Epson iPrint, Canon PRINT, Brother iPrint&Scan — available free
on both iOS and Android. These apps often offer extra features like scanning, ink level monitoring, and printer management. Connect the app to your printer by entering its IP address or scanning a QR code shown on the printer’s display.
Remember: Your mobile device must be connected to the same Wi-Fi network as the printer. Mobile data (4G/5G) will not work for local network printing — switch to Wi-Fi on your phone first.
Run a Test Print
Confirm everything is working before you need it

Before relying on your printer for important documents, always run a test print to confirm the wireless connection, driver, and print quality
are all working correctly. This takes less than a minute and can save significant frustration later.
- Print from the printer itself
On the printer’s control panel, navigate to Settings → Reports → Print Test Page. This confirms the printer’s hardware is
functioning and ink is loaded correctly, independent of any computer connection. - Print from Windows
Open Notepad, type a few words, press Ctrl+P to open the print dialogue, select your wireless printer, and click Print. If the document prints successfully, your Windows setup is complete. - Print from Mac
Open TextEdit, type some text, press Cmd+P, choose your printer, and click Print. A successful print confirms your Mac is communicating with the printer over the network correctly - Print from your smartphone
Open a photo or webpage on your phone, select Print, choose your wireless printer, and confirm. This verifies that mobile printing from the network is also functioning as expected.
Congratulations! If all your test prints are successful, your wireless printer setup is complete. Your printer is now accessible to all devices on your network. Urban Edge Developers’ independent support team is always available if you need further assistance.
Troubleshooting Common Wireless Printer Issues
-
My printer connected to Wi-Fi but the computer can’t find it.
Ensure your computer and printer are on the same Wi-Fi network. Some routers have a “client isolation” feature that prevents devices from seeing each other — check your router settings and disable this. Also temporarily disable your computer’s firewall during printer discovery, then re-enable it once the printer is added.
-
The printer shows “offline” even though it’s connected to Wi-Fi.
This is usually caused by an IP address change. Restart your printer and router. Assign a static IP address to your printer (via the router’s DHCP reservation settings) to prevent the IP from changing. On Windows, right-click the printer → Printer Properties → Ports, and verify the IP address matches the printer’s current IP shown on its status screen.
-
My printer can’t find my 5GHz Wi-Fi network.
Most home printers only support 2.4GHz Wi-Fi, not 5GHz. Check your router settings and ensure the 2.4GHz band is enabled and
broadcasting. If your router uses “band steering” (combining both bands under one name), you may need to split them into separate
SSIDs so you can select the 2.4GHz network specifically. -
Print jobs go into the queue but never print.
Open your computer’s printer queue (right-click the printer in Printers & Scanners → See what’s printing), cancel all queued jobs, and retry. If this happens repeatedly, try restarting the Print Spooler service: open Services on Windows, find “Print Spooler,” right-click and select Restart.
-
Mobile printing (AirPrint/Mopria) isn’t working
Confirm your phone is connected to Wi-Fi (not mobile data) and on the same network as the printer. Restart both the printer and your phone. For AirPrint, check that your printer model officially supports AirPrint on Apple’s compatibility list. For Android, ensure Mopria Print Service is installed and enabled in your device settings.
-
The printer keeps disconnecting from Wi-Fi.
This is typically a signal strength issue. Move the printer closer to the router, or consider a Wi-Fi extender. Also assign a static IP address to prevent DHCP lease expiry causing disconnections. Check for interference from other wireless devices and microwave ovens operating on the 2.4GHz frequency.
- Wireless printer
- Active Wi-Fi network
- Your Wi-Fi password
- Computer / laptop
- Smartphone (optional)
- A few sheets of paper
- Ink cartridges installed
- About 15 minutes
- Unboxing — 5 min
- Wi-Fi Connection — 3 min
- Driver Install — 5 min
- PC/Mac Setup — 2 min
- Test Print — 1 min
- 1Unbox & Prepare
- 2Wi-Fi Setup (Control Panel)
- 3WPS Quick Connect
- 4Install Drivers
- 5Add to Windows / Mac
- 6Mobile Printing
- 7Test Print